Saturday 29 September 2018

October Designer Post for Happ Craft challenge blogspot


Good Morning all


It’s a new month already  here on the Happy Craft  Challenge - Support Group Face book Site, as part of the Design Team we were ask to create using Texture


WHAT IS TEXTURE, you may as?
 There are lots of types of texture, it can be rough, smooth, coarse or grainy

VISUAL TEXTURE:

Pattern papers, a combination of light and dark coloured paper

Medium:

By adding Mediums such as Mists, Embossing powder, Glitter, Paints, Inks and paste, creates another layer on your work be is an ATC, Junk Journal, Off the page piece, card or layout.

LAYERING:

By layering fussy cut pieces on to your work using foam tape, dots or square adds dimension and another form of texture


OTHER FORMS OF TEXTURE:

There are many ways to add texture to your work.  Items such as: Corrugated card, buttons, leather ribbon, string, stitching, material, cork, tags, metal, chipboard pieces, lace, dye cuts, you can add inks or paints to further add texture to these pieces or you can dye them, the list is endless.


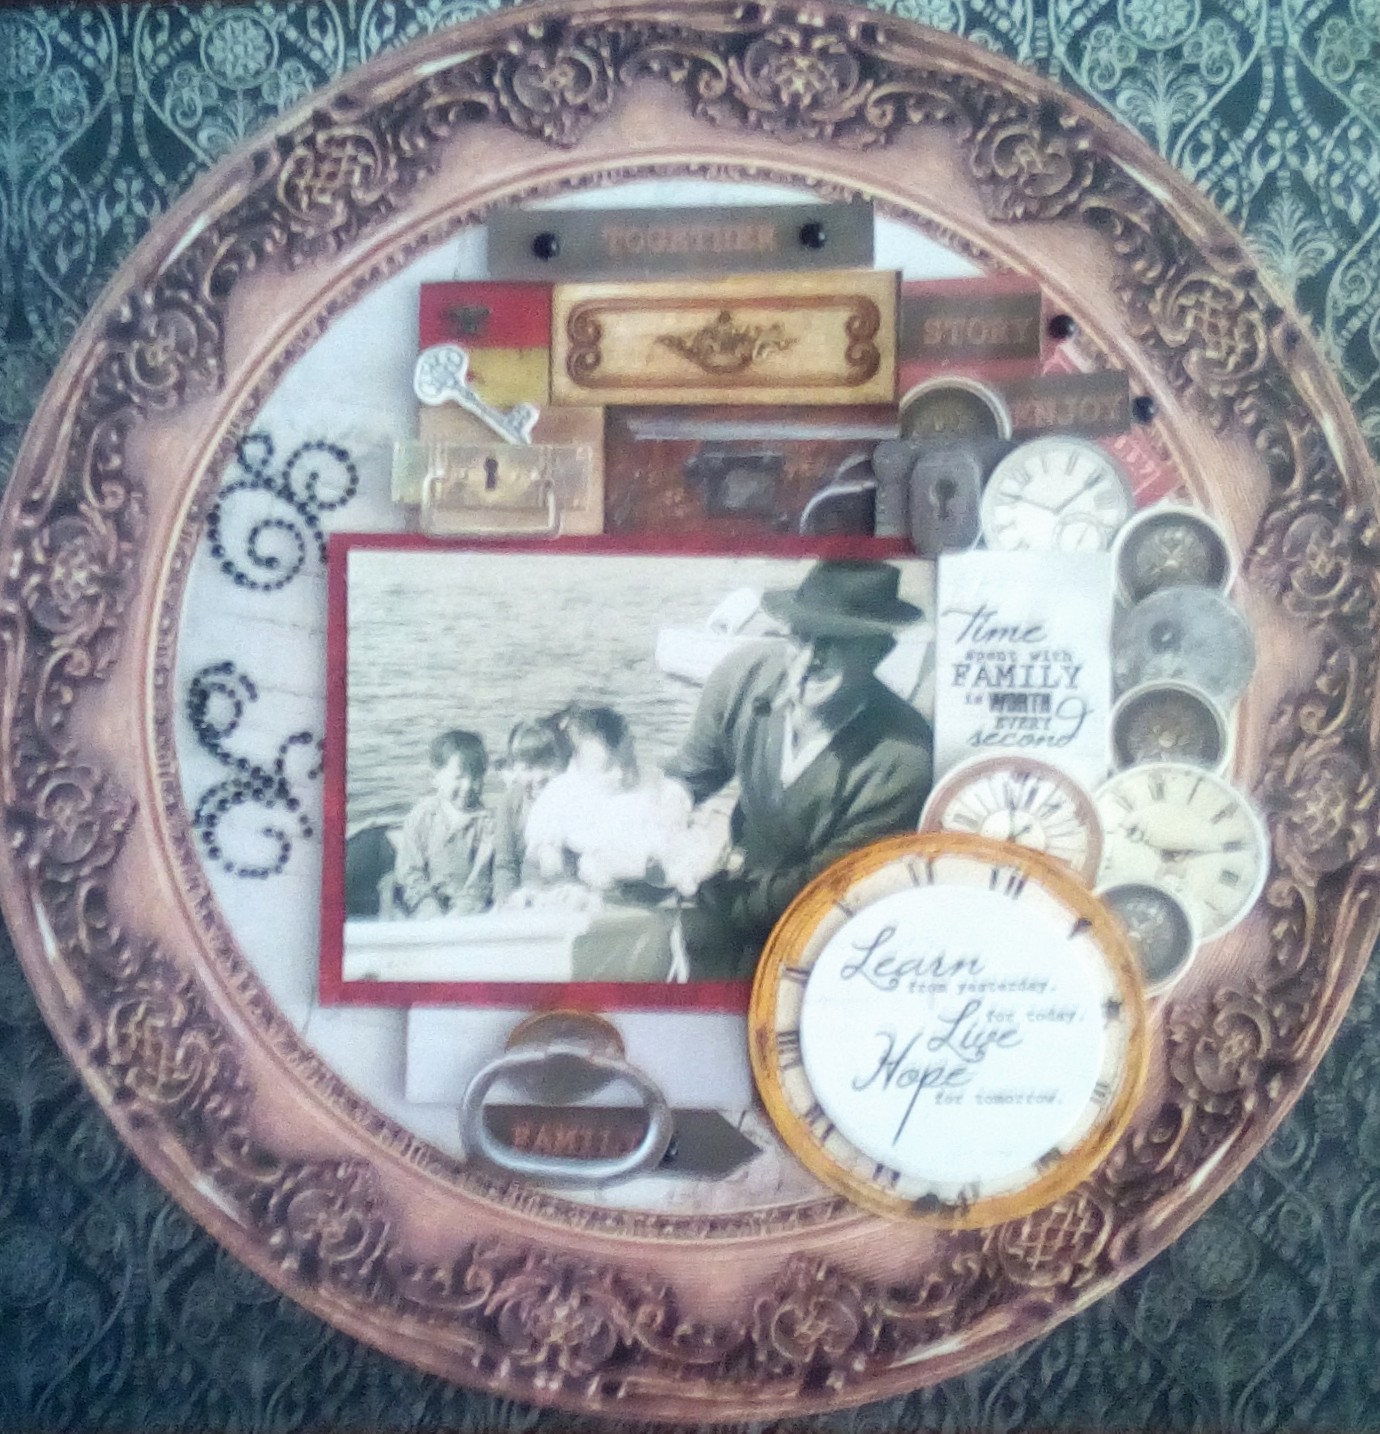
MY EXAMPLE USING TEXTURE:


My creation used Visual textures, Mediums, Layering and other forms of texture.
I wanted to use up the very last of my “Misty Mountain” Collection, I will provide measurements for the pieces I have cut as if I was starting from Scratch. (These where all off-cuts and some i  had already made into photo mats)


PRODUCTS USED:

Misty Mountain Collection: - Sticker sheet, collectables, Moody, Eclipse, Dusty plum, Dusty Plum reverse, Agate Reverse, Moody Reverse, Marble and Sunset.
Kaszazz S.B Essential Bling card stock
Dyes: Butterfly (unknown brand) Butterfly Outline dye (unknown brand) and Paper Roses rectangles
Uniquely Creative Pearls in Pink and Purple
Kaisercraft “Scratchy “template
Kaisercraft Mauve paint
Tsukineko Brilliance Ink in:- Pearlence Purple, Lavender, and Orchid
Butterfly stamps, (Unknown brand)
Photo 2.5 x 4.25

CUTTING:
Cut 12” x 2.5” piece from “Moody”
Dye Cut three Butterfly from Agate, Marble and Sunset
Dye Cut butterfly outline from “Moody”
Dye cut 4” x 6” Using rectangle stitched dye from “Moody”
Dye Cut 3.5” x 5.5”Using rectangle stitched dye from “Dusty Plum” reverse
Dye Cut 3.25” x 4.75”Using rectangle stitched dye from “Eclipse”
Dye Cut 2.75” x 4.25”Using rectangle stitched dye from “Dusty Plum”
Cut the flowers from the sticker sheet into 2” x 3.25”
Fussy cut around the remainder so that it can be place on top of the two lengths

STAMPING AND INKING:

Placing Scratchy Template on the Bling card stock starting from the top and 3” in from left hand side, painted template using Kaisercraft “Mauve” paint, move it down so it covered the next 6” vertically repeated process
Once dried stamped 4 butterflies using Pearlence Purple, Lavender, and Orchid inks 2” from left hand side
And 1.5” in from the right-hand side 5 more butterflies in Pearlence Purple, Lavender, and Orchid a further one was place in the top right-hand corner
Inked all around the outside of the card stock using Pearlence Purple, Lavender, and Orchid inks for approximately 0.75”

ASSEMBLY:

Added 12” x 2.5” piece from “Moody” vertically 6” from the left-hand side of the card stock
Added the 2 x 3.25” flower pieces cut from the sticker sheet, one at the top and one at the bottom just overlapping the piece of “Moody” facing towards the left using foam squares
Using butterfly stamp, stamp 4 more butterflies into the fold of the flowers using Pearlence Purple, Lavender, and Orchid inks
To the right-hand side of “Moody” added the piece of blue strip sticker
Added the  top salvage from the Heart Sticker to the right of the stripe strip ( see photo for detail)
Added the arrows from the sticker sheet to the left hand side in the middle of the inked edge
Added the small circle strip to the right hand side of the card stock in middle of the inked edge
Added the salvage from  Dusty plum to the top of the card stock
Adding the photo mats I  started doing these separately using foam tape  starting with "Moody” then "Dusty Plum" reverse  then adding a "Eclipse” then adding "Dusty Plum" lastly adding the Photo this give the it a raised dimension look
Add this to the page 3.75" from the top and 4" from the left hand side
Now comes the fun part adding embellishments, with the fussy cuts from the sticker sheet added these to the flowers at the top of the page using foam tape added the pink flower collectables with foam tape and some leaves from the sticker sheet , added a cleat pearl to the top
To the left top Photo mat, added two clocks from the collectables from an angle  place a purple flower from my stash over the top of the clocks
At bottom right hand corner of the photo mat i have added another purple flower and some leaves from the sticker sheet
Added large pink flower off centre at bottom of photo mat (see photo) for further details.
Tucked butterfly and hearts in under the sticker sheet.
Added dye cut butterflies over the stamped images ass per photo
Added pearls to the middle of each , alternating colours
To the Right hand side added hearts from sticker sheet
Added words from sticker sheet to larger of the photo mat as per photo


Wednesday 26 September 2018

Time Spent with family is worth Every second (Australia)

Good Morning 


Haven't done a post for a few days. life at the moment has been full on, We have plumbers back in the house hopefully to Finnish off the bathroom and laundry after having to have all the pipes replaced as they been in the house for over 50 yrs are where only giving us rusty water. The guy doing the cladding is back to day, now the work has been completed after the white ant invasion


Now for the reason for the post, I was told about this blog and its challenges and thought i might submit a page for this months challenge The challenge blog is ARTastic Challenge blog

https://artasticchallengeblog.blogspot.com

THE CHALLENGE:

It is Father's Day here in Australia tomorrow and as a tribute to the males in our lives our September inspiration comes to you from Robert Haganand is called The mentor.


The imagine remind me of my  late father in law and my husband talking about when he was  younger and all the holidays he had at the beach where is father taught him to fish,  or the  times they went out in the dingy , which we have inherited and is the backyard.
Not many photos of those days as they have aged so much its hard to get them reprinted, they need a look of work to bring them back to the original black and white photos
The one i have chose to recreate on to a layout, is one of my father in law with his dingy and coming back to shore after taking his grand kids on a ride down the Nepean River in Penrith N.S.W.


MY INTERPRETATION OF THE BRIEF:


Friday 21 September 2018

Christmas Card- Kaisercraft challenge

Afternoon all

The day has been a lot cooler with the wind whipping up the dust all thou we had a shower of rain last nightTo days post is something i have been working on the last two days, I had a plan in my head but had to get down on paper. I spent yesterday afternoon fussy cutting Poinsettia, tracing Xmas tress and cutting them out then losing then as they are tiny and cutting some moreThe challenge is Christmas cards over on the Kaisercraft Blog


Christmas Card Challenge!Create a Christmas card by choosing 4 boxes that connect either diagonally, vertically or horizontally and create any paper craft project you like featuring what’s written in the boxes.For example, you might like to choose SNOWFLAKE, PEACE, GREEN and RHINESTONES.


Your creation must feature at least 80% Kaisercraft products from any current or previous release Kaisercraft paper collection.


For my card I chose the bottom row, Poinsettia, Rhinestones, Fussy Cut, Christmas Trees

MY CHRISTMAS CARD:

My Card standing up


The Card Side view


The Card lying flat


PRODUCT USED:


Kaisercraft Sparkle Collection:-  Glint, Glint Reverse,  Auroral, Auroral Reverse, Vivacity, Luster and Luster reverse
Kaisercraft  Christmas Edition :- Collectables and paper pad
Kaisercraft White card stock
Kaisercraft Rhinestones :- Hot Pink,  Soft Pink and Mint Green
Kaisercraft Stitched Square dye, Stitched  Rectangle Dye, tag
Uniquely Creative Postage Dye 3.5" square
Foam Tape
Premade Stepper card


CUTTING:


Fussy cut  the Poinsettia from "Glint" reverse
Fussy cut Christmas trees using a tree from the collectables of "Christmas Edition. I traced them out then cut them" from  "Vivacity" reverse, the Black section Of "Vivacity""Auroral" reverse. 
Dye cut 5.75" x 4" stitches rectangle from"Auroral" Reverse
Dye cut 5.50" x 3.75" stitches rectangle from"Auroral"
Dye cut 4" x 2.75" from "Vivacity" reverse
Dye cut 2.50" square from "Auroral"
Dye cut 5.50" x 3.75" stitches rectangle from "Luster" Reverse
Dye Cut 4" rectangle from "Vivacity" (Black Music sheet)
Cut 8.25" x 5.75" from "Auroral" reverse
Dye Cut 3.5" Postal dye from White card stock
Cut the Snowflake square and the "Christmas Waves a Magic"  cut to 3.75" to 1.5" squares from "Luster
Dye Cut tag from  "Vivacity" reverse ensuring dye is over the glitter part of the paper

ASSEMBLY:


Staring with the First Step
Add  5.75" x 4" stitches rectangle from"Auroral" Reverse to base using glue
Add  5.50" x 3.75" stitches rectangle from"Auroral" using foam tape to "Auroral" Reverse 
Add 4" x 2.75" from "Vivacity" reverse using foam tape to "Auroral"
Add the "Christmas Waves a Magic"  to "Vivacity" reverse
Add embellishments as per Photo Staring on the inside step add 
Staring on the inside bottom, add 5.50" x 3.75" stitches rectangle from "Luster" Reverse to base
Add 3.5" Postal dye from White card stock
Bottom of  step  Add  8.25" x 5.75" from "Auroral" reverse using glue
To this add 4" rectangle from "Vivacity" (Black Music sheet) 1" from the top and 0.75 from the left hand side
Add  2.50" square from "Aurora 5" from the top and 1.75" from the left using foam tape
Add square cut snow flake from  "Luster using foam tape
Add  Dye cut layers (4 in total) to the 4" rectangle from "Vivacity" (Black Music sheet) using foam tape between layers
Add Rhinestone and Christmas trees as per photos


Thursday 20 September 2018

These where the days I want to remember


Good Morning All

   Apologies I had left this one sitting in draft mode for what ever reason just saw it so am posting after a week.

It's another beautiful Spring day, quite warm,  the washing is done and blowing in the breeze. I have again open the windows and door to allow the breeze and the fragrance of the wisteria to come thru.

The Layout is the second one for a challenge on the Mystical Scrapbooks  blog site


This is Donna's challenge. Strip journalling. I often do strip journalling when i do a multiple of photos, it makes it much easier to tell the story.
The photo's where taken when we moved to a mining town in the Pilbara, so that my husband could drive iron ore trains. The scenery is breath taking only just start to scrap these photos from the 1980's


MY LAYOUT: 


PRODUCTS USED:


Kaisercraft Collection , "Factory 42"-: Pipe works and Assembly Line.
Document Collection, "Ledger"
Wooden Cogs , Factory 42 Collectables and Sticker Sheet
4 x 3.25" x 3.25"
Kaisercraft Vintage Ink

CUTTING:

Cut "Pipe Works" to 7.75" square
Cut 4 x 3.50 " x 1" lengths of Pipe works
Cut 2 x 3.50 " x 1" length of "Ledger"
All edges inked in Vintage Ink


ASSEMBLY:

Place 7.75" square of Pipe Works .25" from the bottom right and .25" from right hand side.
Added photos leaving a .25" gap between photos and outside boarders
Overlapping the strips of paper by .50" place three strips to the left of photos. 0.25 from bottom and.50" from left hand side
The second set of three i have place above the right hand photo  0.50 from top and 0.25 from right hand side
Added wooden flourishes and collectables  to the top and bottom strips as per photo.
Added title 0.75" from the top and 4.25 from the right hand side
Added extra journal under title.

Learn

Good Morning

Just popping in with this really simple layout.

Was up early this morning and all my chores done, so was able to get to scrapping early than normally.  

This was a simple sketch to follow, you could change it around it is so versatile and i love it. I have completed with a school photo for something different.

The sketch is from the Mid Monthly Challenge for

 "LETS GET SKETCHY BLOG SPOT"


MY INTERPRETATION OF THE SKETCH: 


PRODUCTS USED:

Collection:-Bella  School Days Paper: - Blackboard
Kaisercraft Class of  87 Collection :- Assembly and Collectables
Kaisercraft 2 Cool 4 School Collection:- Technology, Mathematics, Book Week and Sticker Sheet
Photo 5" x 3.50"

CUTTING:

Cut "Assembly" into an 8" triangle
Cut "Technology" into an  8" triangle
Cut Salvage from "Mathematics", "Blackboard"and "Assembly"
Cut Photo mat from "Book Week" 5.25" x 3.75"
Fussy cut two boys and two girls, apple and nougats and crosses from "Assembly"


ASSEMBLY:

Added " Assembly"  to the top left of "Blackboard"
Added  "Technology"  to the bottom left of "Blackboard"
Added photo to "Book Week"
Added salvage from "Assembly (apples)7" down from top   and 7" from top left (see photo)
Added salvage from "Letters" 8.25" down from top and 8.25" from top of page (see photo for placement)
Added salvage from "Mathematics" 7" in from right hand side and 7' up from the bottom (ruler) see photo for placement
Added green sticker from Sticker Sheet hard against "Technology" 
Check placement on layout for embellishments, used foam tape on the fussy cut girls and boys as well as the red circle . all others stuck directly to the piece of "Technology"


Wednesday 19 September 2018

Lovely


Evening  all,

Today  was rather warm, and in between doctors appointment  i have complete this really quick layout as an example of how to used Washi Tape on layout for the weekly mini challenge over on  


https://meganshappyhourcraftchallenge.blogspot.com  and face book page 
                        https://www.facebook.com/groups/happycraftchallengesupport


This is a relative easy layout to put together as i have not used a lot of layering

MY LAYOUT:


PRODUCT USED

Kaisercraft " Day Dreamer" Collection:- Curious, Stargazer, Stargazer reverse,  Muse Reverse, and Sticker Sheet, Muse Salvage
Washi Tape from my stash in black and white, Stars and  Apricot and lime green tape.
Boarder punch
Oddments of Black card stock
6" x 4" photo

CUTTING:

Cut two 8" triangle one from  Stargazer,and Stargazer reverse,
Cut Photo mat 6.25" x 4.25" from Muse Reverse
Cut 1.25" x 3" from oddments of black card stock
Using boarder punch , punch 6" from each of  Apricot and lime green  Washi tape.

ASSEMBLY:


Add triangle of Stargazer to top of  Left hand of "Curious"
Added Triangle  cut from  Stargazer reverse to the the bottom right  of "Curious"
Added photo to photo mat cut from Muse Reverse
Add boarder punched Apricot Washi tape to the top of photo tape
Add green boarder punched Washi tape to the bottom of photo mat
Add photo mat 2" from the left hand side and 4.25 from top
Added the star and the black and white  Washi tape as per photo layout
Added words and hearts from sticker sheet as per photo layout

Tuesday 18 September 2018

Dogeman Cars

Afternoon all,

Another day  has gone my, where does the time fly, tomorrow is hump day, When i was working use to look forward to it as it was my day off.
I left this challenge till nearly last as  wasn't sure what i would do, being the challenge was to use AQUA  and GREY.
This layout was easy to put together as i let the brick wall do all the talking with the photo with just a few embellishments

The challenge is for Scrapping Good Times - Scrapbooking Group  Facebook Page:


MY INTERPRETATION:


PRODUCTS USED:

Nuvo Embellishment Mousse _ Platinum
Starlight Metallic  Paint :- Aqua
The Paper Mill Layering stencil:- Brick Wall
The Craft Style Plywood  embellishment :_ Cogs
Scrap Fix FX Flourish :- Steampunk
Kaisercraft Base Coat 1V :- Marble Reverse, Scraped Scraped Reverse.
Kasazz  water colour pencils in grey and aqua
Kaiser fusion pens  AO5, and WGO2
Car Dye cut (no brand name as out of a magazine)
Uniquely Creative circle dye
Photo 5.25" x 4"

CUTTING:

Cur 0.25: from top of Marble Reverse (base sheet) as words to remain intact
Cut  "Scraped" 4.25" x 5.50"
Cut Scraped" Reverse 4.50" x 5.75"
Dye cut 2 x cars and wheels out of "Scraped and Scrapped" Reverse
Dye cut circle Dye from "Scraped"

STENCILING:

Using  Starlight Metallic  Paint :- Aqua added stencil 2.5" from the left and 2" from the top.
Added paint to stencil for 2" Move stencil down  4" recommenced  adding  2.5"  of  Aqua Metallic Paint.
Left gap in middle of 1.5' and recommenced on the right side replicating the left hand side
Starting at the left 4.5" turned stencil side ways and added  Nuvo Embellishment Mousse -  Platinum vertical across page  finishing 2" from the right hand side.

COLOURING EMBELLISHMENTS:

The chipboard  Steam punk piece i cut in half and coloured the wheels using the grey fusion pen A05 colouring  the flourishs using the Kaiser fusion pen WGO2 adding dabs of Metallic paint
The two plywood pieces that look like wheels coloured the middle with Aqua Metallic paint and the outside rims with platinum paint
The two cogs where coloured using the Kasazz water coloured pencils, Aqua in centre and grey on the outer rims

ASSEMBLY:

Added Photo to mat "Scraped" 4.25" x 5.50"
Added "Scrapped" Reverse to "Scraped" 4.25" x 5.50"
Added "Scraped"  to "Marble" reverse 3.75" from the top and 2.50" from the left using foam tape
Added dye cut cars (using Foam tape) on left and right side of photo 5.5" from the top and at an angle see photo for placement.
See photo for remaining placement of embellishments


Monday 17 September 2018

Derail

Hi Guys,


Late Sunday afternoon, having coffee with chocolate and caramel cake which our son brought  in for our Wedding Anniversary yesterday. Its been overcast all day with a breeze, quite a bit colder then yesterday. Spent a lazy Sunday, The Farmers Market early this morning, we arrived home about 7 a.m. best time to go down is early as you get the pick of the bunch and are able to buy eggs fresh from the farm, 18 eggs for $7.00 usually all double yolks, and fresh home for Bacon and eggs. then haven't done much, did a quick tidy up and sat down to finish this page


The page today is for a challenge on Imaginarium Designs Blog spot the colour is KRAFT


With the Kraft you need to use their chipboard designs


My Take on the Challenge:


PRODUCTS USED:

Kraft Card stock with some left over pieces
Kaisercraft Alpha stickers
Kaisercraft "Open Road" Collection :- Bush Walk
Cork 
Cardboard from a pizza box
Imaginarium Designs Chipboard pieces
String
Modern Industrial:-  railways tracks
Kaisercraft Vintage ink
Kasazz pens :- Brown Sugar, Vanilla and Brown
Photo  x 2  3.5" X 3"  

CUTTING:

Cut "Bush Walk" 4" x 11"
Cut  "Cardboard from a pizza box" 3.5" x 10"
Cut "Cork" 9" x 2.5"
Cut   "Railways Tracks" 7" x 4"
Cut "Railways Tracks" 2.5 " x 2.5"
Cut  Extra piece of "Kraft into 3.5" x 2" tags


STAMPING AND COLOURING:

Edged the piece in about 1" of "Kraft" with vintage ink, 
Doddle this with Brown Kasazz pen
Ink or colour each of the chipboard pens with Kasazz pens in  Brown Sugar, Vanilla and Brown

ASSEMBLY:

Add piece of  "Bush Walk"  to the Kraft card 6" from the top and  0.50" from  left hand side
Add piece of cardboard 2" from left hand side and 0.50" from top
Add piece of cork 4.5" from the left and 2.25 " from the top
Add  "Railways Tracks" 2.5 " x 2.5" to the top of the piece of cork
Add photo's to "Railways Tracks" 7" x 4" leaving a 0.25" boarder around photos and in between
Add photo mats 5" from the top and 2.50" from the left using foam tape ensuring you leave a section blank to add the journal tag
Add string to journal tags
Add journal tag one on left and one on right
See layout photo for placements
Add chipboard as per  photo of layout


Saturday 15 September 2018

Dance

Evening all
A very warm day, a hint of summer, am seriously think about taking the blanket off the bed, but the weather forecasts said it is again going to get cold I will wait until the end of the month until i know we will have warm nights.

The layout i have finally completed as been started several times I have changed the photos and design around. quite a few times.  Finally happy with this one ( a few more circular photos to do another layout latter on
The Photo is of  my grand daughter and her family on the Dance Trip to Disneyland for their 150 yr celebrations  Not going to put too many instructions for this just what  circles i cut and the background paper i used. I used card stock  and paper from my bits and pieces, except for the back ground sheet

The Layout is for Sketchy Boards Face book Challenge

THE SKETCH:


MY INTERPRETATION:


PRODUCTS USED:

Kaisercraft. "Misty Mountain Collection:- Bokeh, Divine

Kaisercraft Christmas Edition Collection :- Snow capped
Red, Black, Lollipop pink, apple green . oddments of card stock
Blue water coloured paper
"Sandy Lion" Disney Stickers
"Paper Craft" Rhinestone Alpha stickers
Photos 1 x 6.5" 
2 x 4" x 4" Photos
1 x 2" x 4": photos
Disney Birthday card
1.75" flower punch
Kaisercraft square dye  2.5" square stitched dye
Paper Roses rectangle stitched dye   3" x 1.25"


CUTTING:


Cut 6.5" circle from red card stock  ( a small plate can be used if you do not have an electronic cutter.)
Cut 6" circle from 6.5" square photo (if no electronic cutter use a saucer )
Cut each of the 4" x 4" photo into 3" circle used punch
Cut 1  x 2" x 2" photo into a 1.75" circle used circle dye
Cut 3 x 3.5  circles from red , blue and green card stock used circle dye
Cut 2 x 2.75"" circle , in red using stitched circle dye
Cut 2 x 2.50" circle in red used circle dye
Cut 2  x 2" circle  in  red circle punch
Cut 1 x 1" in blue used circle dye
Cut 12" 0.75" circle punch punch  4 x pink, 6, black 2 x blue
Cut rectangle stitched dye   3" x 1.25""Snow capped"
Cut  square dye  2.5" square stitched dye from "Divine"
Cut two Micky Mouse from  birthday using the flower punch


ASSEMBLY:

See layout placement of circles, photos and embellishments  used foam tape on each of the photo circles and photos


Friday 14 September 2018

Kindergarten

Hello all,

Its late Friday afternoon, the day been rather warm, but overcast, I thought it would storm this afternoon but it didn't.
I cleaned out one of my cabinets with scrap paper in it this morning as i was looking for something and it was not  where it was suppose to be. ( the grandchildren  use these bits and pieces, plus i have two drawers in there which i use.

It took me a colour of hours to put it back how it should be. ( Its ready for the school holidays now which are fast approaching)


This afternoon after lunch decide i would do the KRAFT + challenge layout. i had an idea in mind that I had sketch out the previous afternoon, just need to gather supplies.


http://kraftpluschallenges.blogspot.com


The challenge was to use your office supplies to make a page.


I have used :- paper clips string, thumb tacks ( which i used metallic paint to change to silver) , split pins , bulldog clip,  file dividers ( i had actual put these aside when i was sorting the receipts out for the accountant last week) our ABN stamp, an old red stamp pad , could not find the Cancelled stamp which goes with it, Brother Label maker, a notebook cover, and a piece of magnetic cork board, I also used a yellow stamp pad ink. Not sure why it was in my husband office.  Both stamps pads where nearly dry


I have not written up  on how i put this together as i used scraps of paper found whilst cleaning out this morning, with the base sheet coming from "2 Cool 4 school" from Kaisercraft , and  piece of Kraft card stock cut to 11 x 11"


MY PAGE:


Thursday 13 September 2018

Our Fairy Tale

Afternoon All


It"s a beautiful Spring day, quite warm, I have again open the windows and doors to allow the breeze and the fragrance of the wisteria to come thru.
This layout is of our first great grand daughter, we have three others which are all boys. When this Kaisercraft Fairy Collection was released , i  knew i wanted to use this to scrap one of her photos with it although she was not born yet. This photo was taken the day she was born, with her grandfather holding her. As yet we have not traveled south to see her, that will  be our Christmas holiday trip.

The Layout is for a challenge on the Mystical Scrapbooks  blog site.


https://mysticalscrapbooks.blogspot.com

There are two challenges set each month I have decided to do Gypsy's challenge first.


Your challenge is to either: make your journalling hidden - mine is slipped under the black and white paper on the left. Or: use the same sentence starter for your journalling... I've used 'I love..." for my LO below, but you can use any starter that you want.
I have done a hidden tag which i have slipped in under the layers of paper, with the outside saying "Our Fairy Tale"


MY INTERPRETATION:


The photo with the journalling out


PRODUCTS USED:

Kaisercraft "Fairy Garden" Collection:- Magical, Magical Reverse, Moonstone, Fairy Dance, Fantasy, Fantasy reverse, Mystify, Sticker Sheet , Wooden Flourishes and Collectables
Kaisercraft dye:- Flourish dye and Doily Dye
Kaisercraft Apple green card stock
White flowers from Uniquely creative
Gems from stash
6' x 4" photo with white boarder


CUTTING:

Cut "Magical" 2.5" x 12"
Cut "Magical" Reverse 4.25" x 6"
Cut Fantasy Reverse 12" x 5.50"
Fussy cut flowers and little birds from "Moonstone"
Fussy cut Fairy from "Fantasy"
Dye cut Flourishes from apple green card stock
Dye cut Doily from " Moonstone"

ASSEMBLY:


Using "Mystify as the base add "Fantasy" 1.75" from the right hand side  running vertically
Add "Magical" Reverse 2" from the top and 2" from right hand side
Add "Magical" 6.25" from left hand side
Added pink strip from the Sticker sheet 9.50" from the top running horizontally
Add Photo 3"from the top and 5.50" from the right hand side. See layout details for the layering of the fussy cuts on the top left and bottom right. staring both with the flourish adding the doily's and then tree layers of flowers, tucking the fairy in underneath the layers so that her wings reach the edge of the left hand side 
Add the journal tag  tuck it under middle of photo. Mine has all the details of her birth  
Add remaining embellishments as per photo