
Good Morning all
I woke up this morning thinking today was the 30th, but no that's tomorrow ,(when i opened my I pad, and saw the date), As I still have a few thing to do before the 1st of December and i was ticking them off in my brain this morning and had no idea of how i was going to get it all done today, but alas i still have two days
I hate snow too cold, so no snowy photo for layouts so decided on creating some cards. I love this snow flake embossing folder and the iridescent white mist, it gives a real glamour sheen to make it look like its snowing. The Postage dye there are numerous size right down to a postage stamp size and is fabulous for making windows
I have already created by Snow Theme cards , but no blog Post but here it is:
MY TWO CARDS:
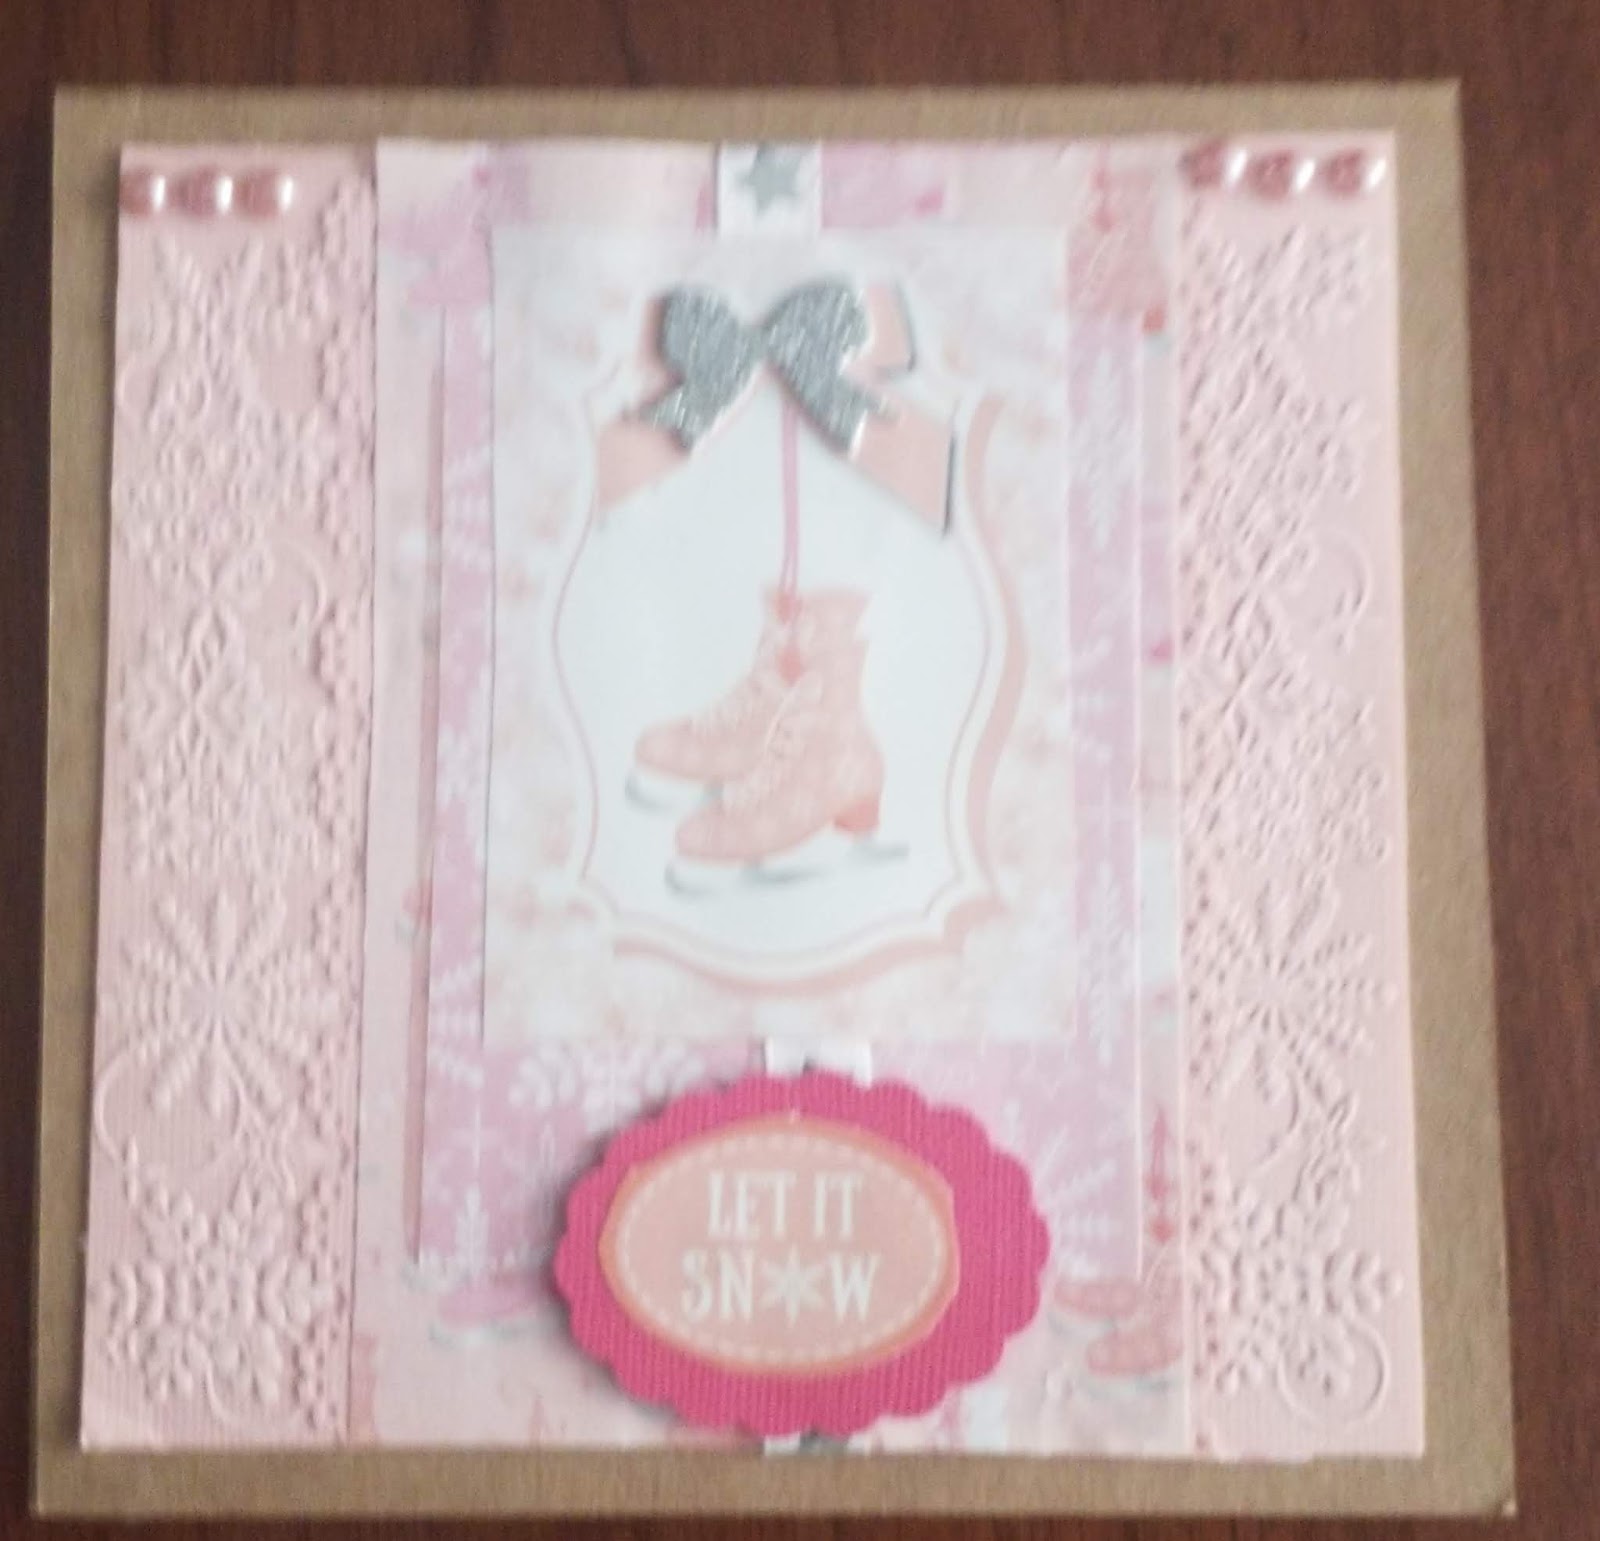
PINK CARD: "LET IT SNOW"
PRODUCTS:
Freebie Paper from a magazine " Make Christmas Cards" I purchased this last year but did not use all of the papers
Pink card stock
6 " square card pre-made
Used three piece from the collection
lolly pop pink card stock
pink gems
white ribbon with silver stars from stash
silver bow from stash
Kaisercraft Snowflake embossing folder
Sullivan Boarder punch
Sullivan fancy oval shape 2" punch
CUTTING AND EMBOSSING:
Cut Pink card stock 5.50" x 5.50"
Cut first layer 5.50" x 3.50" (ice skates)
Cut second layer 3"x x 4" (Pink snow flakes)
Curt 3rd layer 2.50" 3.25" cut out of ice skates
Punched out 2 x 5.50" Boarders
Embossed Pink card stock 5.50" x 5.50" with snow flake dye
Dye cut oval from Lollipop card stock
ASSEMBLY:
Added 1st layer leaving 0.25"all the way around
Added punched boarder to both sides of second layer
Added this to the pink card stock 1" in and to the top of the pink card stock
Added third layer 0.75" from the top and 1.75" from the left hand side
Added white ribbon with silver stars Thu the middle of the card from top of pink card stock to the bottom of the pink card stock
Added top layer 1.50" from the left and 0.25 from the top
Added three pink gems on each side and silver bow to the middle
Add greeting "Let it Snow" to the Punched oval and added it to the bottom of the pink card stock
WINDOW CARD

PRODUCTS:
Kaisercraft " Mint Wishes Collection 6" paper pad
Collectables from my Stash
Uniquely Creative holy dye and Postage stamp Dye
Kaiser iridescent white mist,
Brown Card stock 5" x 5" pre-made card
Acetate from my stash
Scraps of Green and brown card stock
CUTTING:
Cut Frosted Reverse " 5" x 5"
Cut the Forest 3.5" x 3.5"
Cut Acetate 3.5" x 3.5"
Dye Cut Window using brown card stock and the two largest dye"s
Cut 2 strips 0.25" wide and 3.5" long
Dye cut from green card stock 2 x pieces of Holly
ASSEMBLY:
Add "Forest" to card base
Add the piece of "Forest" to the "Frosted"reverse 0.75" from the top and 0.75" from left hand side
Added the Santa and sack to Frosted
Add the piece of Acetate
Using the strip of brown card added these to the dye cut postage stamp outline square'1.25" squares
Spray with iridescent white mist, Allow to dry before, adding this to the Acetate
Add the two pieces of dye cut holly to each side of window
Add your greeting (mine was from my stash) to the bottom of window
Spray your card with iridescent white mist, covering your window


No comments:
Post a Comment