Showing posts with label Lasting Memories scrapbook page. Show all posts

Monday, 14 March 2022

Celebrate DT Post LM 590


Morning all

I should have posted this one last night to coincide with your Sunday, Its Monday morning here in Australia.

The sounds of cars are penetrating the usual silence in the street with parents dropping their children at school. Lovely cool morning with clear blue skies , first load of washing in the machine ,a slight breeze so it will dry quickly.

This month at Lasting Memories we are stash Busting , the theme this week is use either your punches or dye cuts, if you don't have either of these use some Ephemera . I used my Daisy Border punch , it was one of my first Border punches I purchased when i started scrapbooking. I used it quite often at least 4 times a month , th other is a Botanical dye, not so often.

This week with a swap group I belong to we where asked to swap our 10 favourite dye cuts, so thought as I work through the week I would cut an extra one for the swap. I was totally surprised as to how many I use not just on my card making but also on my scrapbooking. 

Lasting Memories No 590: Use up your stash

https://kcclayoutchallenges.blogspot.com/

MY PAGE:


PRODUCTS USED:

Citrus Blooms

Uniquely Creative "Summer Holiday" Collection:-Sun kissed, Staycatation, Day Beach, Citrus Blooms,

and Creative cuts

Kaisercraft Inks Chestnut, Flamingo,

Anko card stock pink

Photo" x  5.50"

Kaisercraft Botanical Dye

Sullivan's  Daisy Border Punch


CUTTING:

Fussy flowers from "Citrus Blooms"

Cut 6" x 4.50" from "Citrus Blooms" Reverse

Cut Strip 1" wide from Day Beach and use the Border Punch

Cut "Stay cation" 6"x 4 50" using the Inks Blend to match colours to middle of page

Use Border dye punch three sides of the rectangle

Use Botanical dye cut flowers from "Day Beach" and "Staycation"

Dye cut flower from Anko card stock


ASSEMBLY:

Use "Summer Holiday" as base

Add photo to left hand edge of "Citrus Blooms" Reverse

Add "Staycation" to left hand edge of "Citrus Blooms" Reverse

Add the strip of "Day Beach" to left hand edge so that the border edges form a photo mat

Place mat 3" from the top and 3" from Left hand side

Add dye cut and fussy cut flower to left top of photo with a "Creative Cuts" word

Add the dye cuts, Creative cuts and fussy cut pieces at bottom left hand  to form a cluster


THANKS FOR STOPPING BY

HAVE A CRAFTY WEEK

MAUREEN


Sunday, 1 November 2020

Design Team Layout " 522

 Hello everyone

This is the second one i have completed prior to going into hospital. Its for Lasting Memories  . November Challenge

I cannot believe its November allready and a start of a new challenge month

November is a Photo / Colour Inspiration  board

http://kcclayoutchallenges.blogspot.com

As soon as I saw the colours i knew exactly what papers I was going to use.

I do hope you like it and you can draw some inspiration to assist you in getting started.


MY PHOTO:


INSPIRATION BOARD:


PRODUCTS USED:

Kaisercraft Forget-Me-Not Collection:- Queen Bee , Die cut Orchid, Sticker Sheet and Collectables

Kaisercraft Paper Blooms in IceBerg

Uniquely Creative Honeycomb Lazer Cut

Kaisercraft Navy Card Stock

Brillance  Graphite Black Ink

Photo 6" x 4"


CUTTING:

Cut the middle out of the Dye Cut "Orchid " 6.5" x 4.50"

Cut the Navy Cardstock 6.50" x 4.50"

Fussy cut flowers from "Orchid"

Fussy cut the words from the Salvage of "Queen Bee"

Ink the Laser cut with Graphite Black Ink


ASSEMBLY:

Add the Laser cut to the "Queen Bee" 2.50" from the top and  3.25" from the left hand side

Add "Orchid " 2" from the left and 4" from the top

Add the navy cardstock 2.25" from the left and 4.25 from the top 

Add photo 4.25" from the top and 2.50" from the left handside 

Add fussy cut pieces, paper blooms  and title as per photo


HAVE A CRAFTY WEEK 

THANKS FOR STOPPING BY 

MAUREEN.

Sunday, 13 September 2020

D.T. Lasting Memories Project 514. Wild and Free

 Morning all

I cannot beleive its the weekend, i expect when your busy time passes quickly.

This morning i have to go to the hospital  for an M.R.I and an X-Ray, then our Grandon and his girlfriend are coming for lunch. 

So Sunday will disappear before my eyes 

This week i am sharinga layout as part of Design Team for Lasting Memories. 

http://kcclayoutchallenges.blogspot.com

This week's theme  is  China. The Chinese are well know for their Feng Shui. This week we want Balanced colours of Blue and White ( for the Year of the Water Rat)

As this month is all about "Wonders of the World". I decided to do the 12 Apostles in Victoria Australia. They are out crops of Rock in the Ocean which are slowly deteriorating. 

The photos where taken a few years ago and give you an idea of what they like.

MY LAYOUT:


PRODUCTS USED:

Kaisercraft White Card Stock x 2, Scraps of Sea Breeze Cardstock, white card stock

Kausercraft "Summer Splash":-Swell

Kaisercraft "Beach Shack":-Foam Reverse

Kaisercraft  "Deep Sea":- Collectables 

Kaisercraft "Native Breeze":- Alphas

Kaisercraft Sea Breeze Ink

Uniquely Creative Essential Dye No 3, Circle Cluster and Waves Stamp, Stitched Rectangle Dye,

Brads from my stash

3 x 4.5 photo's


CUTTING:

Dye cut 2 tags from White  and 2 from Sea Breeze using the essential dye No 3

Cut "Swell" 6" x 12"  bottom of page

Cut 2 x 3" x 12" of "Swell" tear the left side of one and right side of the second piece

Cut 3 photo mats 3.25" x 4.75" from "Foam Reverse"

Cut 3 photo mats 3.50" x 5" from white card stock

Cut 2 strips of 3" x 12" from white card stock

Stamp the two white strips of card stock with Circle Cluster Stamp and Sea Breeze ink

Stamp the Sea Breeze tags with the waves stamp


ASSEMBLY:

Add the Stamped white Card stock to white Card stock 1.50" from the left and second piece 1.50" from right running vertically 

Add the piece of 6" x 12" piece of  "Swell " 3" from the left handside using foam tape in middle only

Add the torn pieces of "Swell" tucking them under "Swell" on both sides ( see photo for further detail ) leaving between 0.75" and 1" of the stamp piece exposed.

Add mat of "Foam" Reverse to white card stock add photo's 

Add photo's mats  leaving a gap of 0.25" between  each

Add Collectables as per photo

Add two tags together using brads and adding journal to both  tags

Add title to top  of photos

Add ink to left and right side of the  page


THANKS FOR STOPPING BY

HAVE A CRAFTY  WEEK 

STAY SAFE AND WELL 

MAUREEN 

DT Button

Sunday, 30 August 2020

"Travel":- Design Team Post for Lasting Memories challenge Blog

Morning all,

We have another perfect week with cold mornings and beautiful days, its  nearly Spring time and thoes cold mornings will disappear.

 I am so excited as today will be my first layout as a Design Team member for "Lasting Memories Scrapbook Layout  "Challenge blog. They have a weekly challenge based on a theme.

http://kcclayoutchallenges.blogspot.com

September theme is the "Wonders of the World"

With the first week criteria is to use layered Words and to use the word  "TRAVEL". 

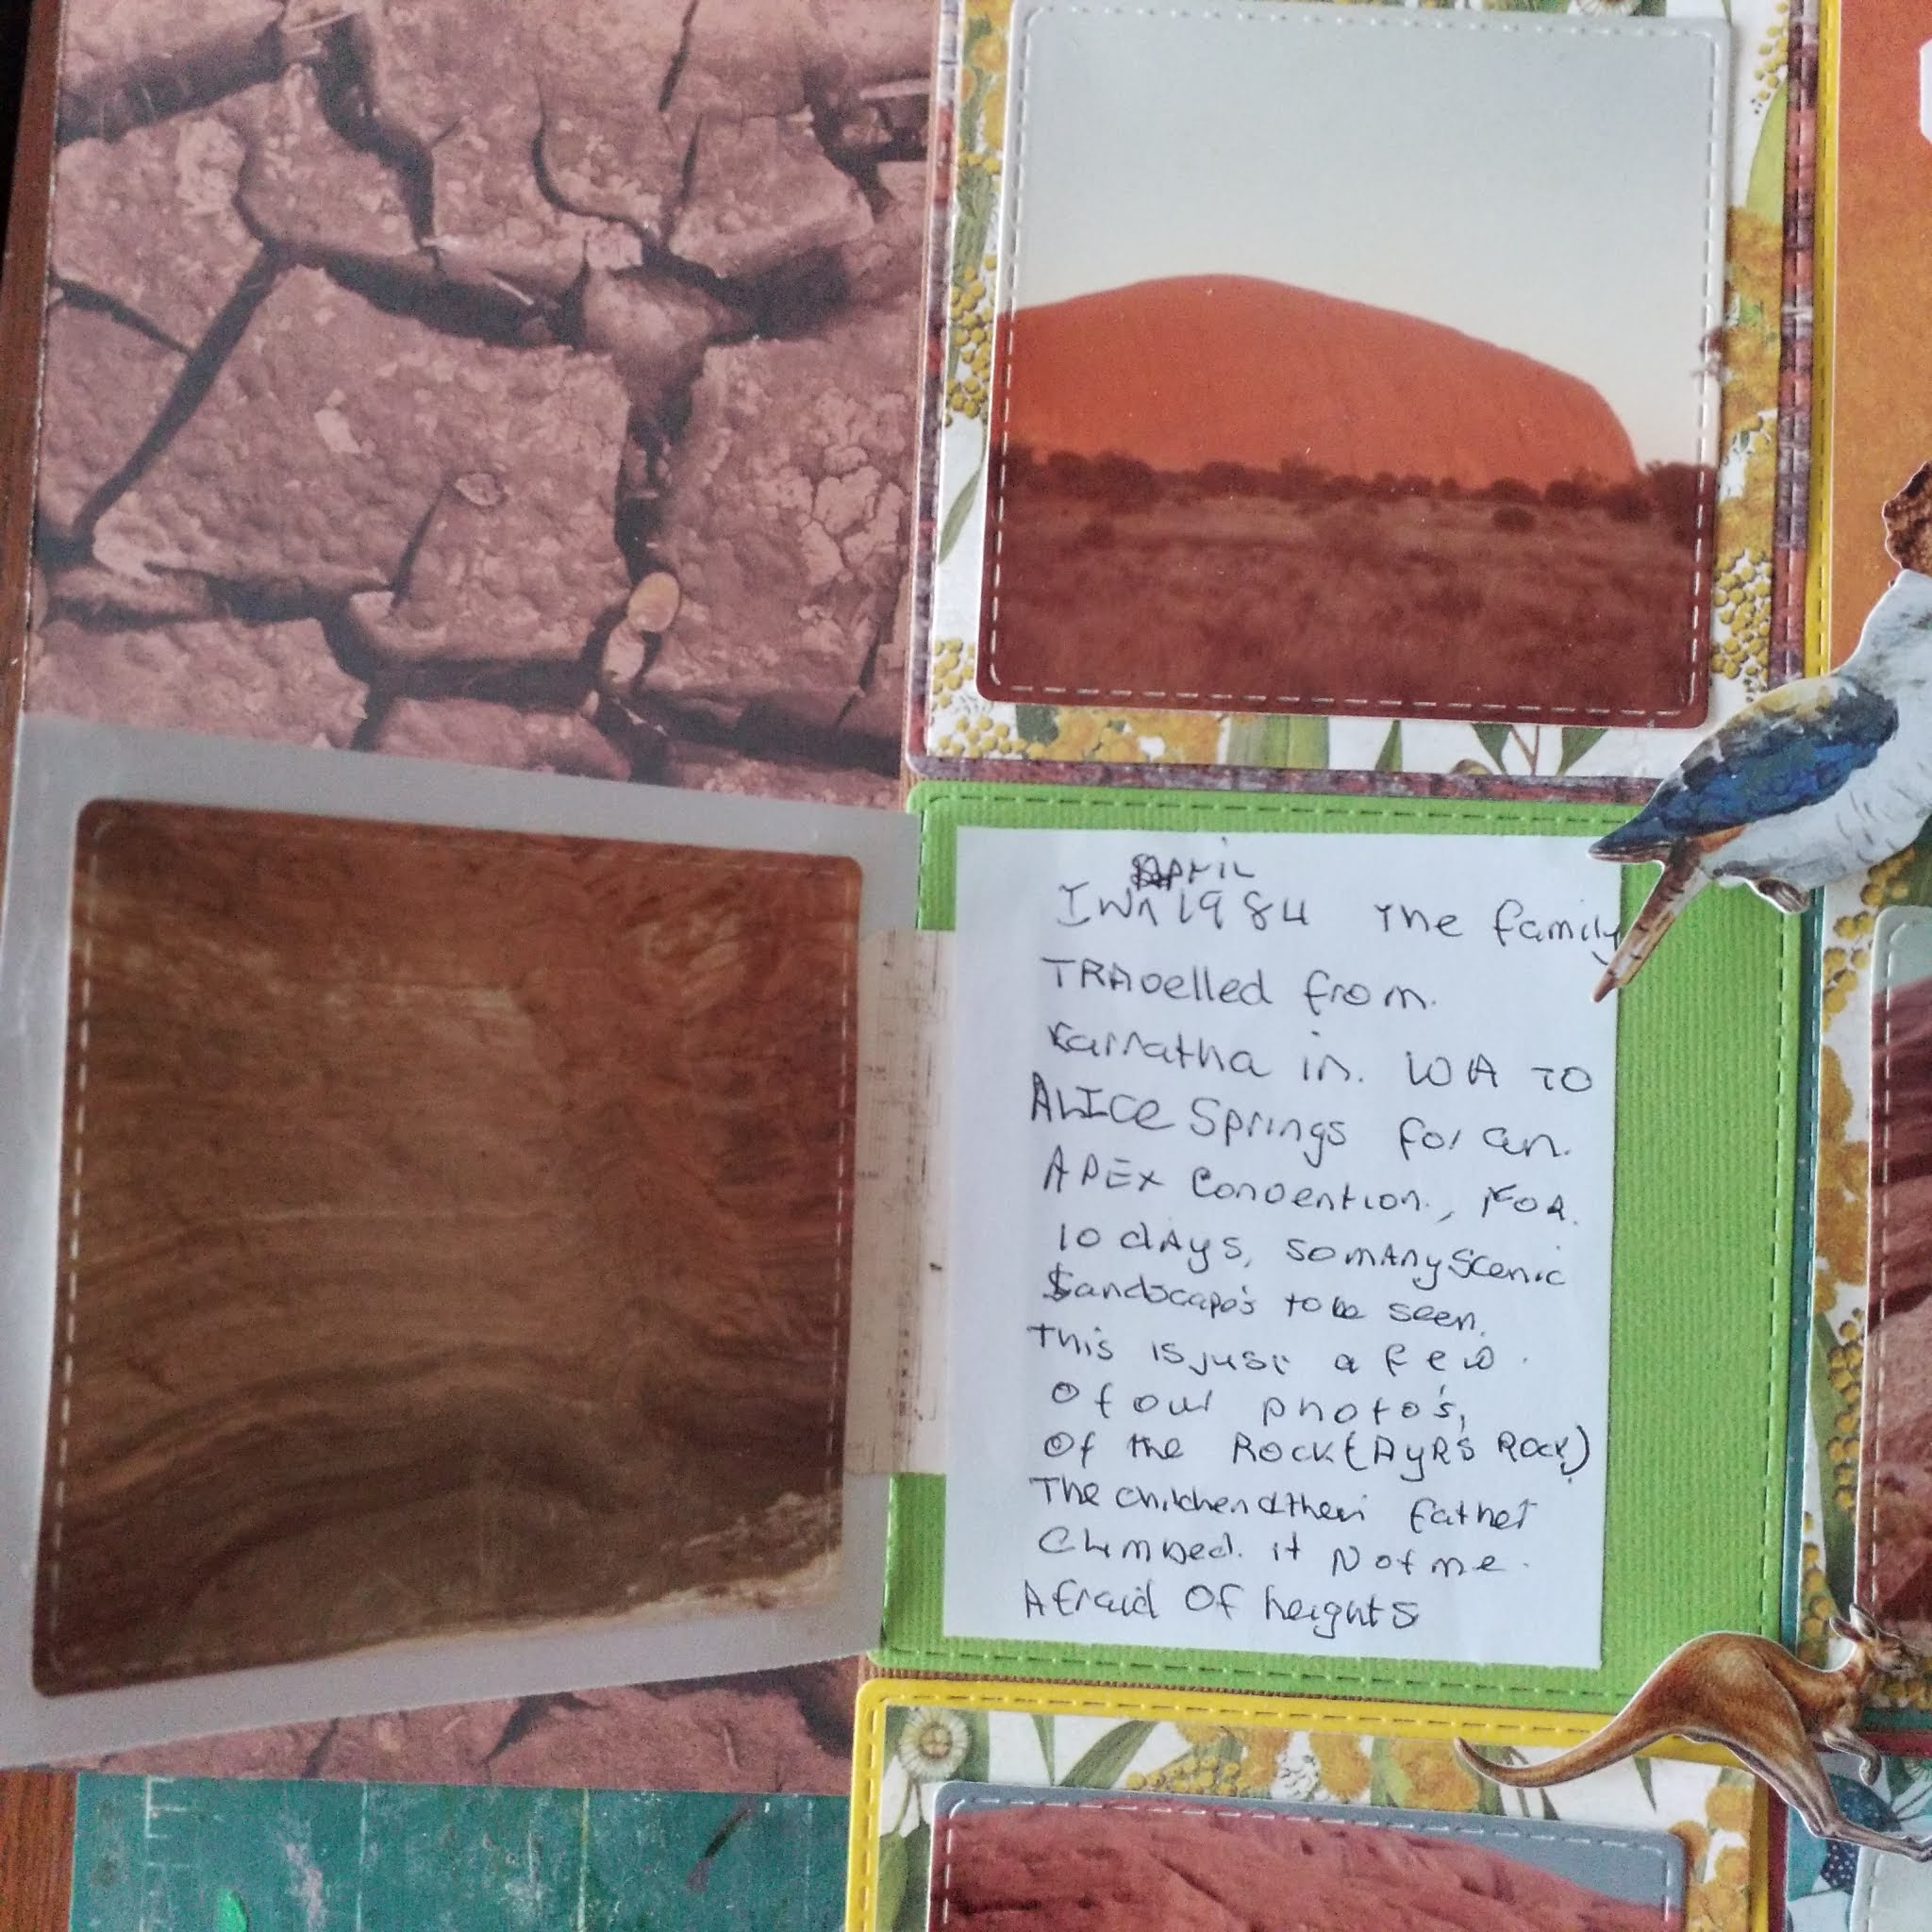
I decided to go with some holidays snaps taken at Uluru (Ayers Rock) back from 1984, when the family travelled to Alice Springs for an Apex convention and then spent a week sightseeing before travelling home.

I decided to go with a multi photo, block theme as i had six photos left to do , I have used one photo in my hidden journal page at the begin of row 2. (See photo below)

I hope you like it. Today i will provide which products I have used  as the cutting an assembly can be seen from the picture .

I have used a base of brown card stock as my first layer and then two more layers ( one a 4" square the second a 3.75" Square ) before adding photo's or emblishments.


MY LAYOUT:


MY HIDDEN JOURNAL PAGE:


PRODUCTS USED:

Kaisercraft  stitched rectangle dye 4" and  3.75"

 Tan, Yellow  and Lime green card stock

Kaisercraft  "Native Breeze" Collection :- Sundown, Sundown Reverse Gum Leavesand Collectables.

Kaisercraft "Open Road" Collection :- Prospecting, Prospecting Reverse, Tracks Reverse and Collectables

Cherry Lynn Designs " Map of Australia

Kaisercraft Wooden Flourishes

6 x 3.25" photos and 1 journal page 3.25" square


THANKS FOR STOPPING BY DT Button

STAY SAFE AND WELL 

HAVE A CRAFTY WEEK 

MAUREEN

Sunday, 26 July 2020

Guest Designer Post. Week 5 Sketch :- Part of the Story . Lasting Memories

Morning All

A very wet last few days, but it is much warmer and we do need the rain. On Thursday we had the grass cut, hubby reckon it was warranted but I insisted glad I did as with the rain you can already see the growth.

Hope everyone is safe and well, hugs go out to people in lock down. Our state is relative free with only cases at this stage are people returning from overseas and who are already in quarantine.


This is the final Guest Designer post for "Lasting Memories Blog".


http://kcclayoutchallenges.blogspot.com/


I do hope you have received some inspiration from my layouts. I have kept them simple but as I love to fussy cut elements to match what I am doing, there is always some layering of elements


MY LAYOUT:


Add caption


THE SKETCH:

 3 Photo Sketch from PageMaps July 2019


Inline image


PRODUCTS USED:


Uniquely Creative "Mother Nature”: - Nature Strong Reverse, Proud Mama, Total Devoted, Protective Reverse, Florals, Cut Apart Sheet and Creative Cuts

Uniquely Creative Rhinestones: - Sunshine

Kaisercraft "Empire " Collection: Lava

Kaisercraft "Save the Date" Sticker Sheet

6" of 0.25" wide Orange Ribbon from my Stash

Photos 2 x 4" x 2.75 and 4" x 4"


CUTTING:


Fussy cut flowers from "Florals"

Cut "Nature Strong" Reverse 6" x2"

Cut "Proud Mama" 8" x 11"

Cut 3" x 11"

Fussy Cut Cluster of Flowers from "Total Devoted"

Cut Tag from "Protective" Reverse - Blue

Cut Black and White spotted tag from Cut Apart Sheet


ASSEMBLY:


Use “Lava" as your Base add "Proud Mama" 8" x 11" 0.25" from the top and 0.25 from left hand side

Add "Total Devoted" to "Lava" 0.25" from the top and 0.25 from right hand side

Add Strip of Orange Spots from "Save the Date" Sticker sheet over join

Add "Nature Strong" Reverse 6" x 2", 4" from the top and 4" from Left hand side, and 4" from the top, leaving top and bottom clear of tape

Add Photo’s: - First Photo 1.50" from the left and 2.5" from the top. Second photo leave a 0.25" gap and add directly underneath. Add the Third photo 4" x " 4.25" from the top and 2.75" from right hand side

Add the Black and White spotted tag 6" from the left-hand side tucking it under larger photo

Add the blue tag from "Protective" Reverse 4" from the top and 4.25" from the hand side

Add embellishments from the Fussy Cutting, Creative Cuts and cut apart as per photo.

The flower cluster has two layers.

Add Rhine stones and title


 THANKS FOR STOPPING BY

STAY SAFE AND WELL

HAVE A CRAFTY WEEK

MAUREEN


Sunday, 19 July 2020

Be Amazing today Week 4 Sketch

Morning all 


I cannot believe we are at week 4 of the sketch challenge for "Lasting Memories:

One more week to go as Guest Designer. I have loved doing these sketches  with their multi photo's. 
http://kcclayoutchallenges.blogspot.com

We had a lovely week with the sun shinning and the cool mornings, but i will be glad when the Spring arrives 

I do hope you like my take on the sketch


MY LAYOUT:


THE SKETCH:

Photo Sketch from PageMaps April 2018


Inline image


PRODUCTS USED :

Kaisercraft "Lilly and Moss:- Flicker Reverse, Flora, Chalking reverse, Pink Plaster, Pink Plaster Reverse, Sticker Book and Collectables
Uniquely Creative Chunky Lace dye ,  Orbital Dye  and Cut Apart Sheet
2 Photos  2.75" x 2.75"
Kaisercraft Pink Pearls 


CUTTING:

Cut "Flora"  4.25" x 10"
Cut "Chalking Reverse" 6" x 5.50"
Cut "Pink Plaster" Reverse 6" x 3.25"
Cut "Pink Plaster" 4" x 2.50"
Dye cut 5.25" from " Pink Plaster using "Chunky Lace Dye
Dye Cut Orbital Dye from  "Pink PlasterReverse"


ASSEMBLY:


Using " Flicker Reverse " as your base add "Flora" .50" from the top and 3.5" from left hand side
Add "Chalking Reverse" 2.75" from the top and 2.5" from left hand side
Add " Pink Plaster Reverse" 3.75 " from left hand side and 3" from the top
Add the chunky lace pieces to the bottom of "Pink Plaster "Reverse
Add photos to " Pink Plaster Reverse" leaving a 0.25" gap
Add "Pink Plaster" 6.75" fro  left hand side and 6.50" from the top, tucking it under the lace.
Add date tab from cut apart sheet 9.50" from the top and 7.25from left hand side
Add "Orbital " dye cut 0.75" from the top and 1" from left hand side
Add to middle of dye cut a circle from the sticker book
Add emblishments from Sticker sheet and Collectables 
Add Pearls to orbital dye 
Add journaling 


THANKS FOR STOPPING BY
STAY SAFE AND WELL
HAVE A CRAFTY WEEK
MAUREEN WOOD .

Saturday, 25 April 2020

P plate (Maureen W) Aust

Morning all

Another beautiful day with the birds chirping. This morning i woke early and it was very cloudy and overcast, but changed to a beautiful day with expected tops of 28.
Hope your all keeping well and staying sane.
Today i have my weekly outing to the chiropractor, then home again.
I completed this layout yesterday afternoon, but the light had faded, starting to get dark early these days. The challenge is the weekly one for "Lasting Memories" blog

http://kcclayoutchallenges.blogspot.com

This month it is "Word Play" and the weekly Challenge word is CROCUS, I found the U word difficult , here is what i used

C:  Coral Card Stock, Clear Sticker, Cars

R:  Rose Card Stock, Rectangle photo and mat , Rhinestones,

O: Octagon and oval shapes

C: Circles, Cogs, and Carvan

U: Underlined Title, U - haul Truck

S: Stitched Dye, Stencil, Signs,


MY TAKE:


PRODUCTS USED :


Kaisercraft:-  Criss Cross Stencil, Oval and Stitched Rectangle and Alpha's Dyes
Uniquely Creative: Tyre Cluster Dye,  Geo Texture, and Arrow Dyes
Mylar Clear Transport Sticker
Trike sticker from my stash
Kaisercraft Little Toot Collection:- Bang Reverse and Salvage.
Modelling Paste
Photo 4" x 5.50"
Imaginarium Cogs
Kaszazz Rose Pink Alchol Markers
Kaisercraft card stock in :- Slate, Steele,Coral,  Canary, Rose, White and Red
Kaisercraft  Wooden Flourishs
Kaisercraft "Tea Party" Alpha's


CUTTING:

Dye cut Photo mat using Stitched Rectangle Dye and Coral card stock
Dye Cut Tyre Cluster from Slate and Rose Card Stock
Dye Cut Geo Texture Dye using Slate and Rose Card Stock
Dye Cut square using Canary and White Card Stock
Dye Cut the "P" using Red Card Stock
Dye Cut the "L" using  Steele Card Stock
Dye Cut Arrows using SLate and Rose Card Stock
Cut signs 5 from " Bang"
Colour the cogs and word flourish using Rose Pink Alchol marker

STENCILLING:

Using the Criss Cross Stencil  to the "Rose" cardstock and modelling paste, stencil a 9 × 12 area starting 3" from the top.


ASSEMBLY:

Add photo to mat of Coral Cardstock
Add the clear stickers on the left and right-hand side of the page
Add photo mat to page using foam tape in the middle
Add letters and Alpha's to each of the square and oval as per photo
Using the photo as a guide add the Geo Dye cuts , and cluster wheel dye cuts underneath the photo (At this stage just tuck them under the photo )
Add the other dye cut elements, cogs, salavage and Rhinestones, tucking the L and P signs underneath the wheel clusters as per photo
Add the title to page using foam tape


THANKS FOR STOPPING BY
HAVE A   CRAFTY DAY
MAUREEN

Saturday, 18 April 2020

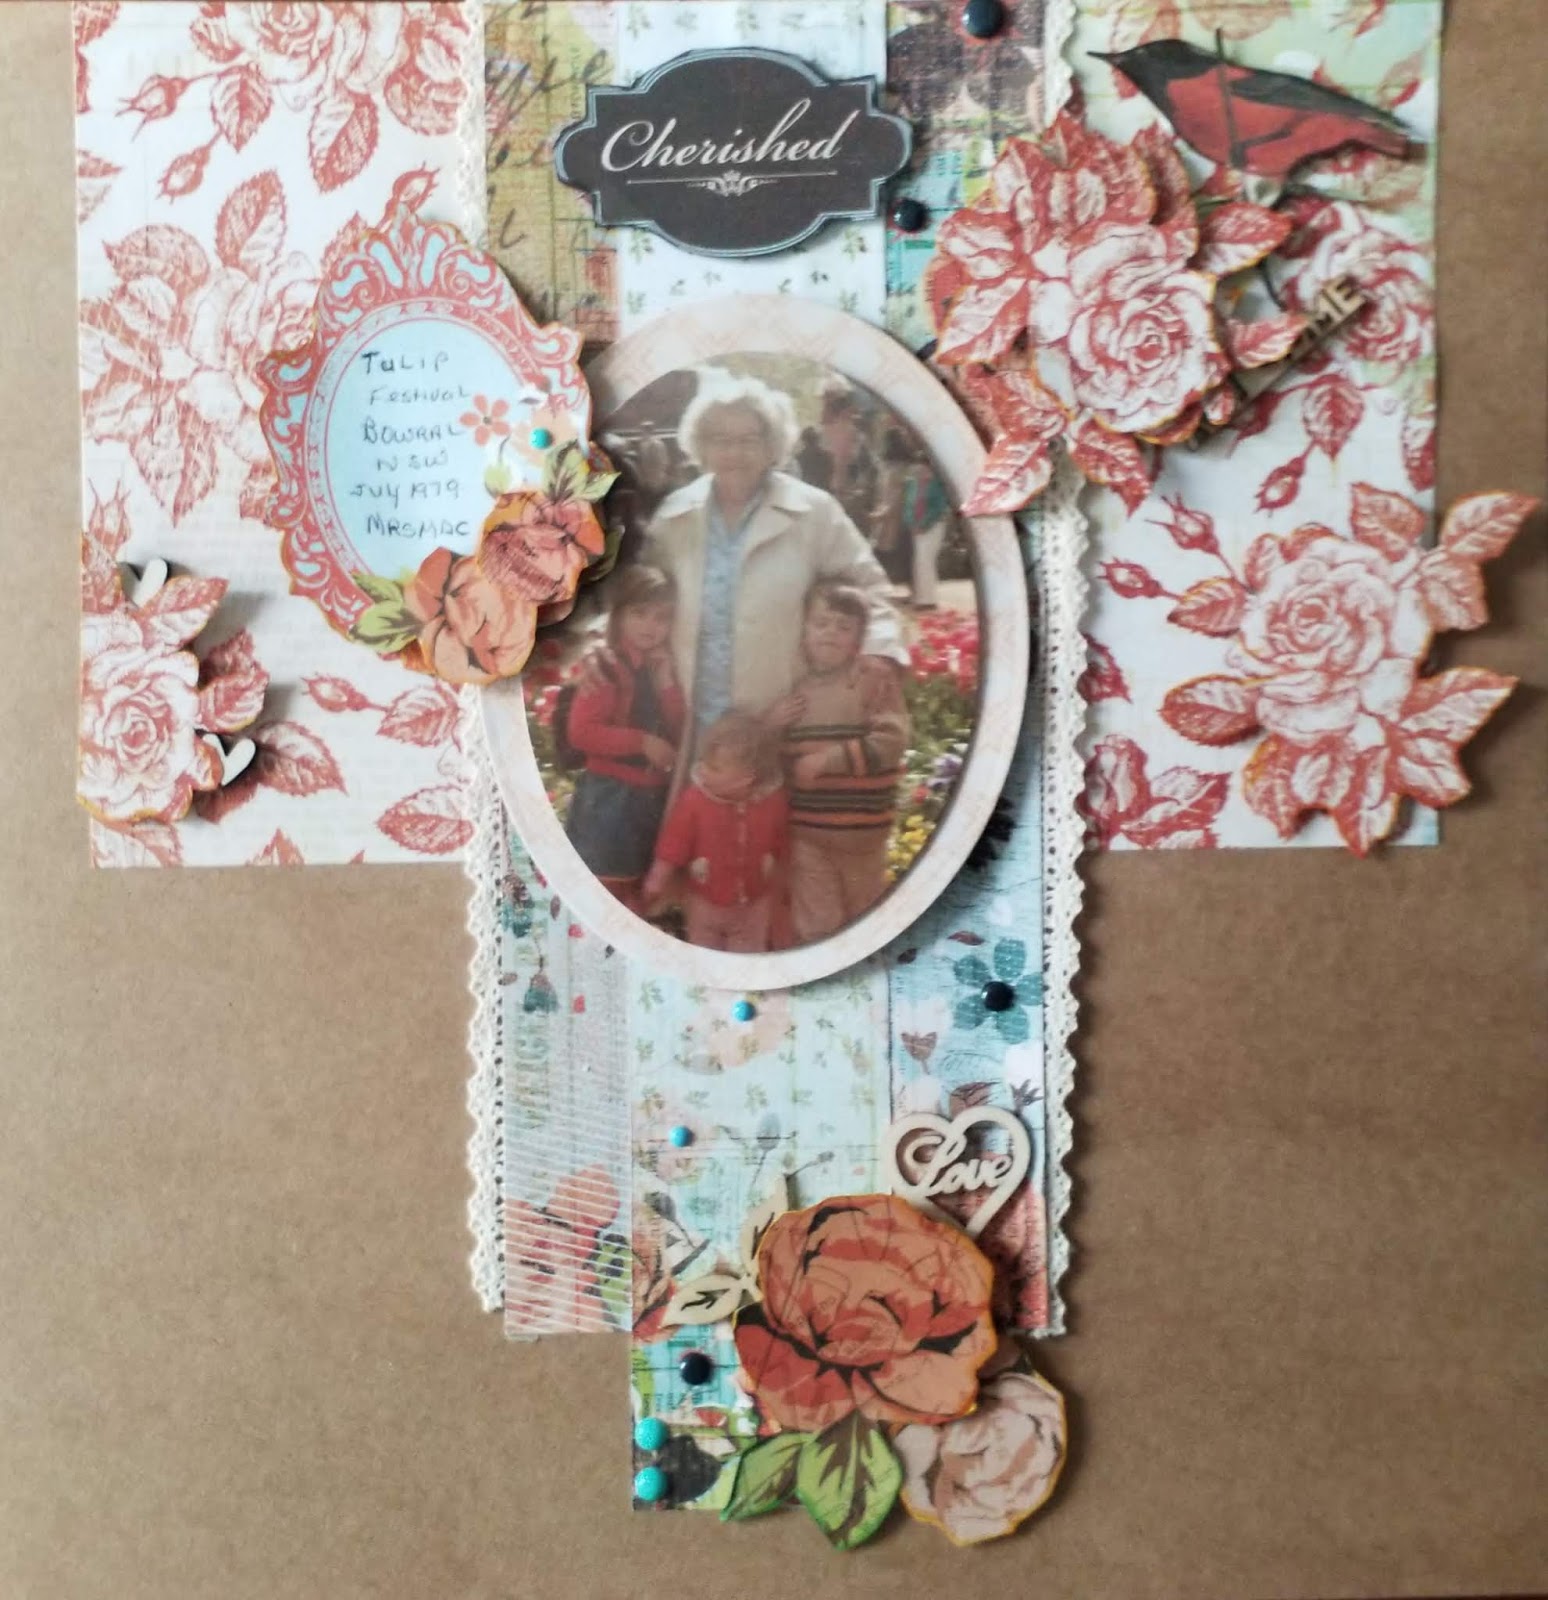
Cherish (Maureen W) AUST

Morning all


Overcast cloudy day  Hope we get some rain. Proably not.
Another real quite day hubby sleept in till 8 a.m., most unusual, but it did give me a chance to finnish this layout, which i spent yesterday afternoon fussy cutting flowers.

This is the second week, wordplay word "FLOWER" I have not completed this in order, but alas this one is  now complete. This coming week is CROCUS, have toput my thinking cap on.

The Word Play game is for Lasting Memories, Challenge blog

http://kcclayoutchallenges.blogspot.com/

FLOWER:

F:  Fussy cut Flowers, Floral paper

L:  Lace

O: Oval frame, Oval Photo and Photo Frame, Orange

W:  Wooden Flourish and words

E:   Enamel Dots

R:  Rectangle pieces of paper, Red Robin (American)


MY LAYOUT:


PRODUCTS USED:

Kaszazz Alcohol Markers  :- Coffee, Leaf and Sunflower
Kaisercraft Wooden flourishs, Oval Dyes and Kraft cardstock
Uniquely Creative: Enamel Dots
Boutique Lace
Kaisercraft "Curiosity" Collection:- Unusal and One of a Kind
Kaisercraft " Marigold" Collection:- Straw Citron, Tawny Reverse, and Buttercup
6 x 4" photo either landscape or Portrait


CUTTING :

Cut "Straw"  6.50" x 10"
Cut "Citron" 4" x  10"
Cut "Citron" 2" x 11.50"
Fussy cut flowers from "Straw"
Fussy cut flowers from  " Buttercup"
Fussy cut "Mirror Frame" and Title   from "Tawny" Reverse
Fussy  cut "Red Robin" from " One of a Kind"
Dye cut Photo mat from "Unusal" using 5.50" x 4" oval dye
Dye cut photo using 4.50" x 3.25 oval dye


ASSEMBLY:

Add "Straw" to Kraft card stock 1" from the left and hard to top
Add "Citron" 4" from the left hand side and hard to top only tape in the middle so lace  can be added either side
Add "Citron" 5" from Left hand Side and hard against top
Add the lace either side of 4" strip of "Citron" tucking under slightly
Add photo to dye cut oval frame
Add to page 2" from the top and centralized in the middle of the 4" strip of "Citron"
Add title using foam tape 4.50" from the left hand side and 0.50" from the top
Add Embellishment as per photo with flower cluster a 3 levels .
Add journal to the fussy cut mirror add to page using foam tape


THANKS FOR STOPPING BY
HOPE YOU ALL KEEP WELL  AND SAFE
HAVE A CRAFTY WEEK
MAUREEN