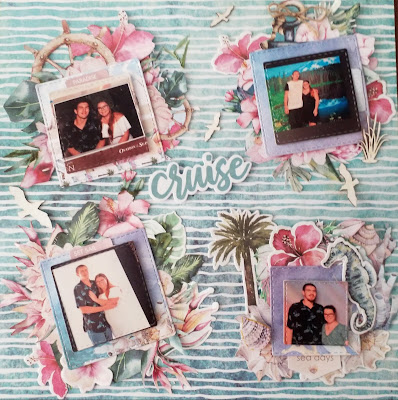
Afternoon all
Its the weekend again, and its a warm Saturday afternoon . No idea where the week has gone just disappeared before my eyes, The cladding on the house if finally finished . Thank God, just a bit of painting to do.
A new month of challenges awaits me.
The first one I am doing is for "STICK IT DOWN" they have three challenges:- single page layout sketch, a double page layout sketch and a card sketch
The first one i am attempting is the single page layout sketch. I have used mainly off cuts to create with. I only had one single page to use and lots of off cuts, but will write the instructions up as if i was cutting from scratch.
http://stickitdown.blogspot.com
THE SKETCH:

MY INTERPRETATION:
PRODUCTS USED:
Kaisercraft "Wandering Ivy" Collection:- Blue Fields, Blue Posy, Blue Posy Reverse, Blue Field Reverse Blessings, Plaster Rose, Archives Collectables and Sticker sheet
2 Photos 4" x 6" and 3" x 4"
Uniquely Creative "Stitched Rectangle Dye"
12" x 12" card stock
CUTTING:
Cut "Blue Fields" Reverse in half at an Angle 12" x 12" x 17"
Cut "Blue Posy" in half at an Angle 12" x 12" x 17"
Cut "Blue Post Reverse at an angle 5" x 8" x 7"
Cut Strip from "Blessings" 8" x 2.5"
Cut a 1" x 1" x 10" Triangle from "Plaster Rose"
Cut a 2.5 "x 12" triangle from "Blue Fields reverse " keeping salvage intact
Cut Banner 0.5" x 6.5" from "Archives"
Dye Cut Photo Mat from "Archives" 6.25" x 4.25" and 3.25 x 4.25" using stitched rectangle dyes
ASSEMBLY:
Added "Blue Fields" Reverse in half at an Angle 12" x 12" x 17" to top of card stock
Added "Blue Posy" in half at an Angle 12" x 12" x 17"
Follow Photo guide for placement of the cut layers
Add "Blue Post Reverse to Blue Posy
Leave a gap of 2"
Add Strip from "Blessings to "Blue Posy"
Leave a gap of 2.5"
Add strip of Plaster Rose" to "Blue Posy"
Add the strip of "Blue Field Reverse with the salvage at bottom of page
see Photo for placement
Added the strip of Blue for the Sticker Sheet over the join in the middle
Added the strip of grey from the sticker sheet beside the blue strip on the "Blue Fields" Reverse side
Add photo to mats
Add larger mat, 0.50" from the left and 2" from the top
Add smaller mat 4.75" from left hand side and 1" from the top
Add a collectable photo frame 4.75" from the left and 4.50" from the top
Add wording from the sticker Sheet to the Banner 0.5" x 6.5" from "Archives"
Add to page at an angle through the middle of "Plaster Rose"


Very nice using of the sketch. Thanks for playing along with us at Stick it Down.
ReplyDeleteColleen--DT for SID
http://scrappingranny-colleen.blogspot.com/
Great take on the sketch! Beautiful layout! Thanks for joining us at Stick It Down
ReplyDeleteBeautiful layout and amazing job with sketch! Thank you for playing along with us in Stick it down.
ReplyDeleteI love your layout! I designed this month's sketch and it brings my heart such joy when I see something I imagined fill scrapbooks and tell your stories....! Thank you for playing along! ~MelissaKay DT for SID
ReplyDeleteThe papers you chose are so beautiful and they really compliment the photos. Thanks for playing along with us at SID.-- Stacy B, DT, single page layout team @ Stick it Down.
ReplyDelete